Scenario-Based Journey Mapping in Figma
Prototyping
Feb 13, 2025
Feb 13, 2025
Learn how scenario-based journey mapping in Figma enhances user experience by targeting specific tasks and improving satisfaction.

Scenario-based journey mapping in Figma helps UX teams focus on specific user tasks to improve experiences. Instead of mapping broad journeys, it targets particular scenarios, like onboarding flows, to uncover detailed pain points and optimize solutions.
Key Benefits:
Improves Task Completion: Boosts rates by 20%.
Enhances User Satisfaction: Increases scores by 15%.
Smarter Resource Allocation: Focuses on high-impact areas.
Clearer Metrics: Tracks improvements in specific tasks.
How to Do It in Figma:

Set Up Personas: Use reusable persona templates for demographics, goals, and pain points.
Map Journey Stages: Outline touchpoints with Figma’s infinite canvas and auto-layout tools.
Visualize Emotions: Use colored lines and annotations to highlight user satisfaction and issues.
Figma’s collaboration features, like real-time editing and version history, make this process seamless. Teams can use templates, test maps regularly, and update based on feedback to ensure continuous improvement.
User Journey Mapping in FigJam: A Step-by-Step Tutorial

Core Components of Journey Maps
To create effective scenario maps in Figma, you’ll need to focus on three key elements.
User Personas and Scenarios
Start by setting up a dedicated frame in Figma for each user persona. Include essential details like demographics, goals, and behaviors. Figma's component feature is perfect for crafting reusable persona cards that can be referenced across various journey maps.
Research from Aberdeen Group shows that companies using detailed journey maps with well-defined personas achieve a 54% higher return on their marketing efforts compared to those that don’t [5].
These persona elements provide the foundation for mapping out scenario-specific stages.
Journey Stages and Touchpoints
Use Figma's infinite canvas to outline the user's journey. Create separate frames for each stage, ensuring consistent spacing with auto-layout. Add icons and color-coded labels to differentiate touchpoints.
User Emotions and Problems
Capture emotional states and pain points visually. Use a colored line (e.g., red for negative, green for positive) to represent satisfaction levels, following established UX design practices.
Highlight problems with Figma’s annotation tools:
Add priority levels using icons from Figma's libraries.
Use color-coded markers to indicate severity.
Include expandable notes for detailed issue descriptions.
This approach ensures your journey maps are both visually engaging and actionable.
Creating Journey Maps in Figma
Here’s how to create journey maps in Figma with three practical steps:
1. Set Up Your Figma Workspace
Begin by organizing your Figma workspace to make journey mapping easier. Create a new file and establish a grid system to keep spacing and alignment consistent. Define grid alignment, set up color styles for emotions and stages, and build reusable component libraries.
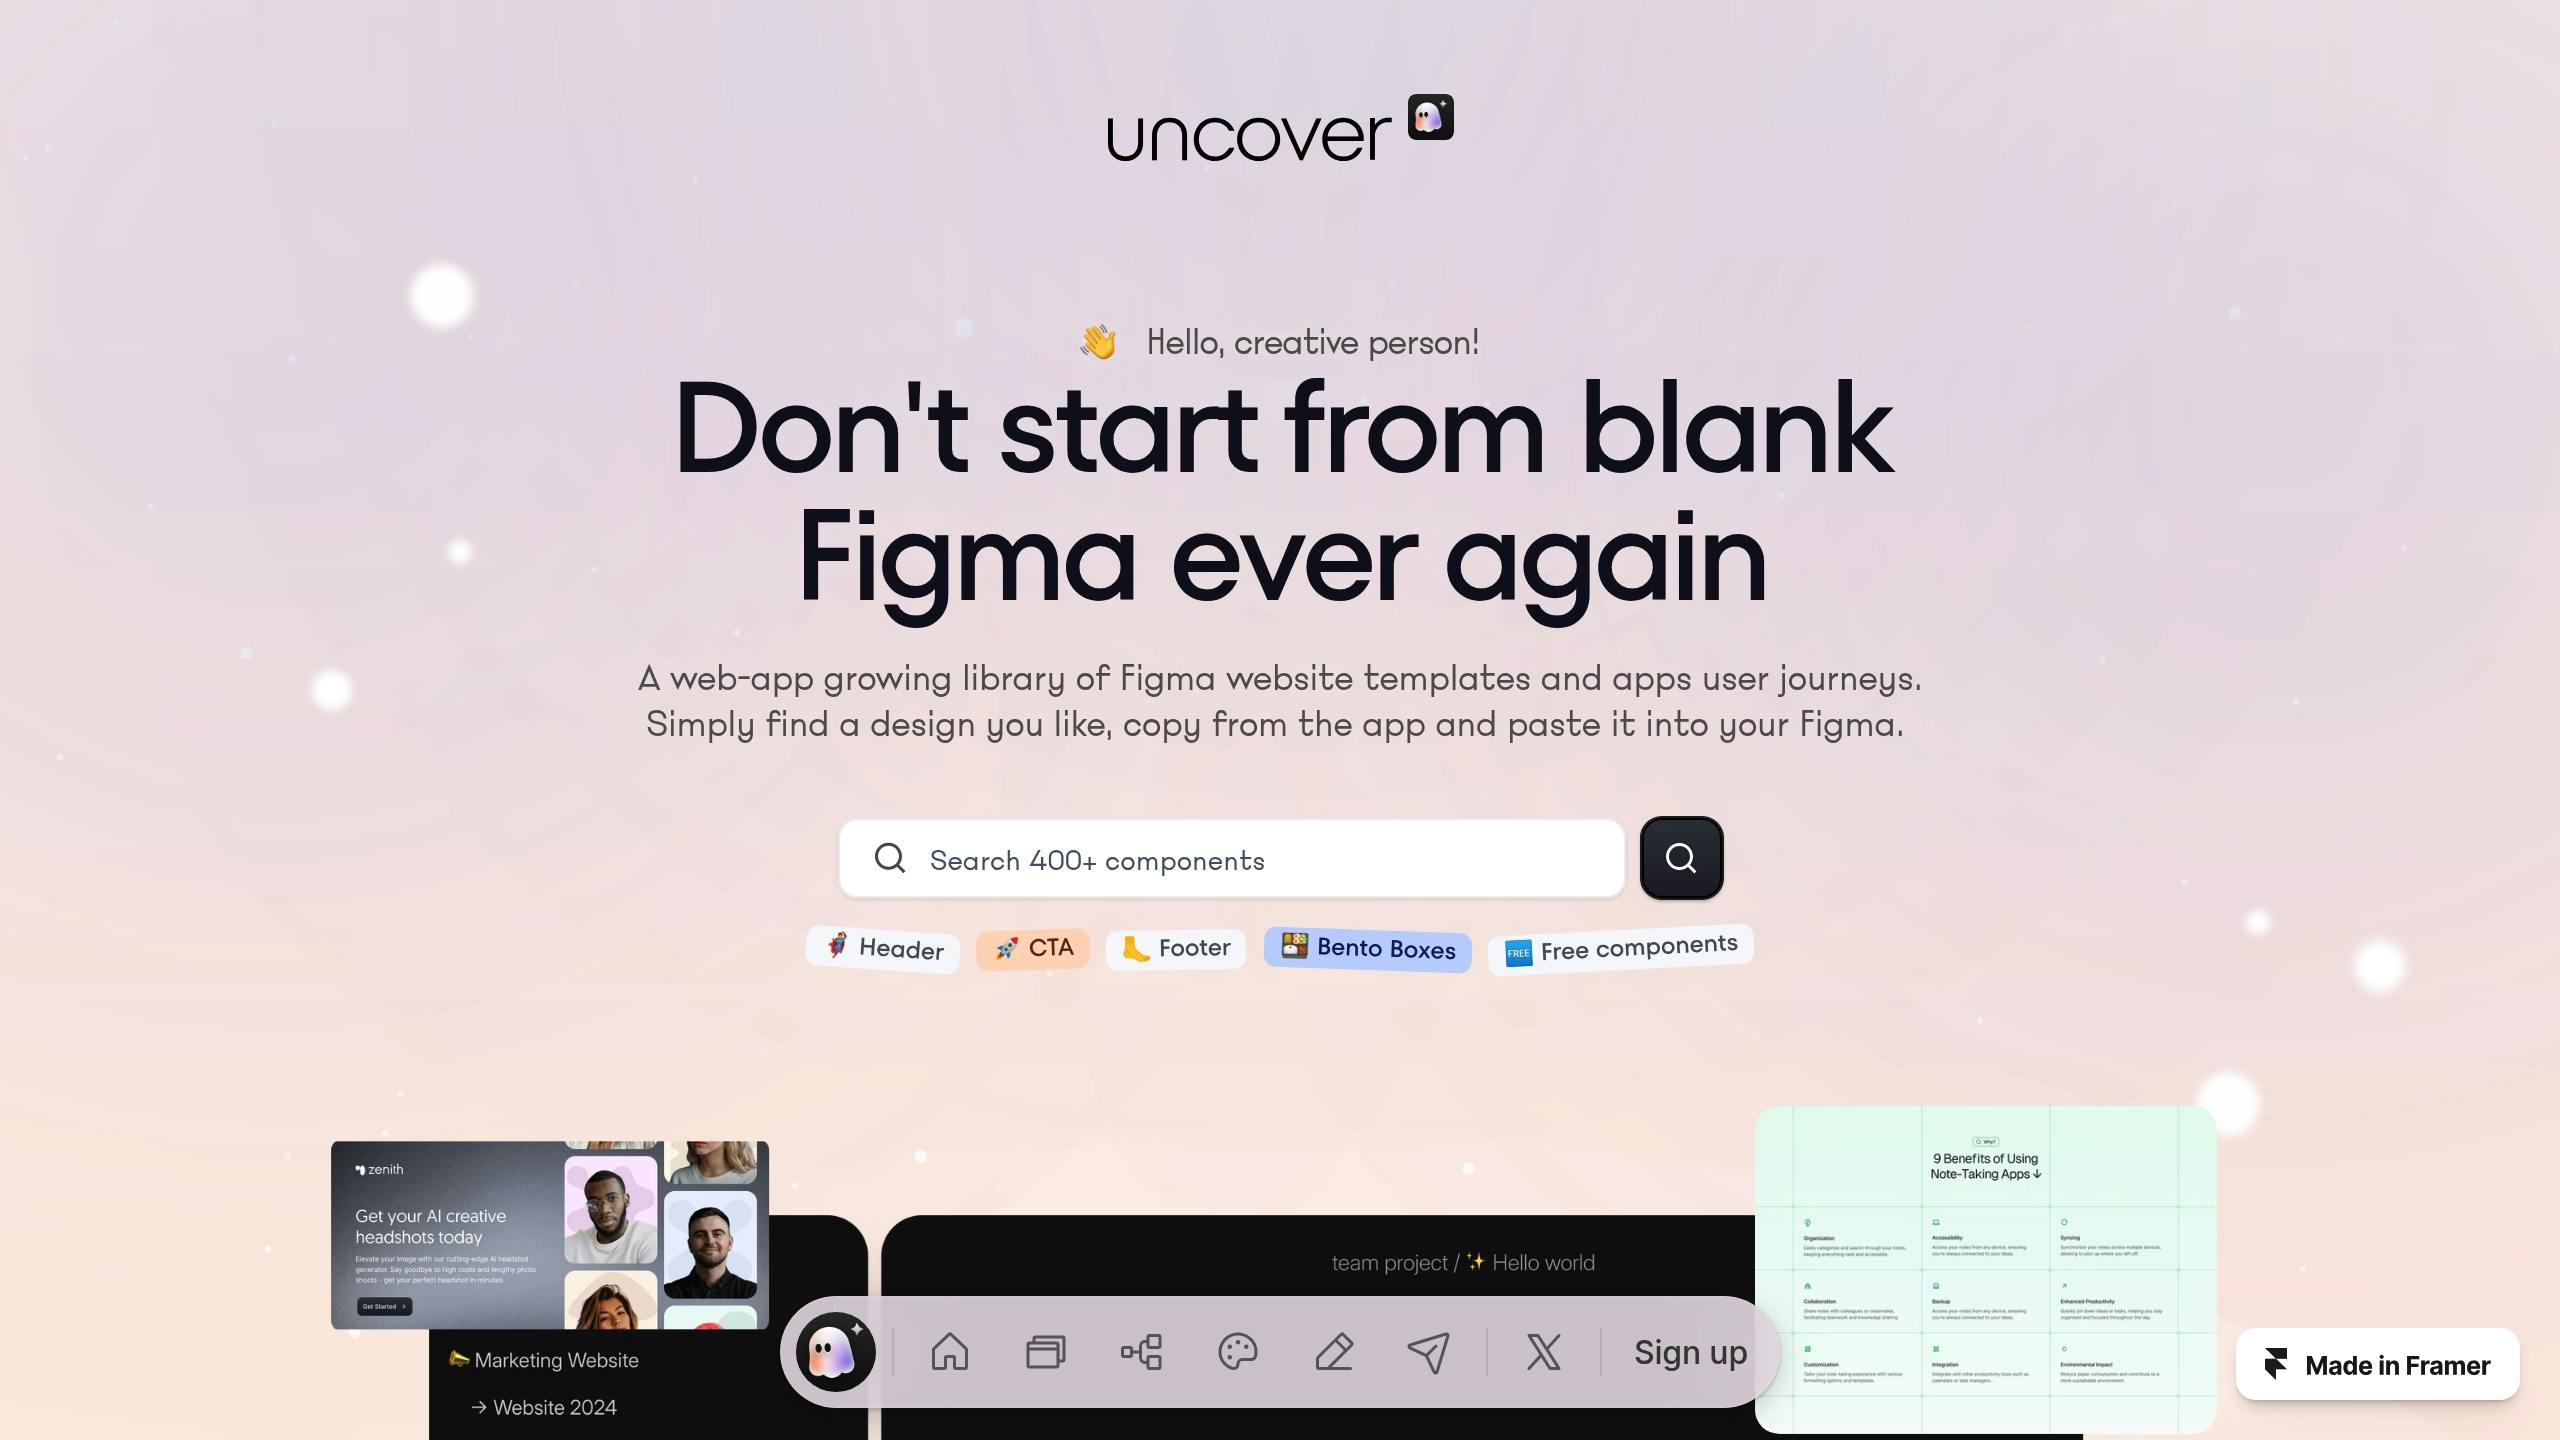
For more intricate maps, you can use pre-made components like uncoverLAB's journey map templates [1]. These templates come with ready-to-use emotion indicators, saving you time.
A structured workspace helps you focus on your scenarios with clarity.
2. Define Your Scenario
Pick a specific user scenario that matches your project’s objectives. Document the scenario details directly in your Figma file:
Scope: Clearly define where the journey starts and ends.
Channels: List all touchpoints and methods of interaction.
Timeline: Break down the duration for each stage of the journey.
Use a dedicated frame to outline the scenario, including its key goals and limitations. This frame can act as a quick reference for your team and stakeholders.
3. Create the Journey Map
Use Figma’s tools to visually map out your scenario:
Structure the Layout
Utilize auto-layout frames for key components like journey stages, touchpoints, emotional indicators, and areas for pain points or opportunities.
Add Interactive Features
Use Figma’s prototyping tools to add hover states for metrics or expandable sections.
Visualize Data
Draw satisfaction graphs and emotion scales using vector tools to make the map more informative and engaging.
Journey Mapping Tips and Methods
Team Collaboration in Figma
Working together effectively is key when building journey maps. Figma’s real-time collaboration tools allow your team to edit the same map at the same time. Features like multiplayer cursors help you stay organized and avoid overlapping edits.
Take advantage of Figma’s commenting system to streamline feedback. Tag team members directly for specific input and use threaded discussions to focus on particular journey touchpoints.
Leveraging uncoverLAB Templates

Speed up your mapping process by using ready-made resources like uncoverLAB’s templates. These include elements like emotion markers, touchpoint icons, and journey stages tailored to different scenarios, which can be easily added to your Figma project.
For better results:
Start with the provided templates.
Adjust colors and stages to fit your needs.
Ensure all scenarios follow a consistent style.
Testing and Updating Maps
Keep your maps accurate by testing and refining them regularly. Gather insights from users and update maps based on their feedback. Schedule quarterly reviews to check for outdated information and add new findings [4].
Use scenario-specific testing to gather meaningful data:
Supplement your updates with live metrics like customer service data and website analytics [4]. Regular revisions ensure your journey maps stay practical and effective for improving user experiences.
Summary
Regular testing and updates help ensure these maps lead to improvements in user experience that can be clearly measured.
Impact on User Experience
Scenario-based journey mapping in Figma allows teams to focus on specific situations to improve user experiences through visual analysis. Instead of tackling broad journeys, this approach hones in on particular scenarios to drive results. For example, healthcare platforms have seen a 33% drop in patient onboarding errors by using targeted mapping [2]. Similarly, fintech teams have reduced application abandonment rates by 25% [1].
These focused efforts can directly improve critical performance metrics like user retention and satisfaction. For example, a financial team might use scenario mapping in Figma to streamline loan applications, cutting steps by 40%. Meanwhile, e-commerce designers could reduce checkout abandonment by analyzing and improving key touchpoints.
Tools and Resources
When paired with collaborative methods, the right tools can make journey mapping even more effective. uncoverLAB's template library enhances Figma’s features by offering pre-built components for journey mapping. These include emotion markers, touchpoint icons, and customizable journey stages, all of which integrate smoothly into existing Figma projects [4].
FAQs
How to create a customer journey map in Figma?
To create a customer journey map in Figma:
Use Figma's grid tools to organize the journey into clear phases.
Import customer persona components from your design library.
Use Figma's connector lines to visually map out touchpoints.
Highlight pain points by adding comments directly in Figma.
Refer to the 'Creating Journey Maps in Figma' section for a deeper dive into customer-facing interactions.
How to create a user journey map in UX?
User journey mapping in UX focuses on tracking emotional shifts during key interactions:
Start by defining the goals and scope of the journey map - what part of the user experience are you analyzing or improving? [6][3].
Use real user data, such as analytics and session recordings, to validate your map.
Highlight emotional highs and lows at decision points with tools like Figma's emotion scale components.
As explained in 'Journey Mapping Tips and Methods,' keep the process iterative by leveraging Figma's version history for updates.
For both customer and UX journey maps, avoid overcomplicating the design or ignoring offline interactions. The goal is to create clear and actionable insights that can improve the user experience.