How to Add Touch Gestures in Figma Prototypes
Prototyping
Feb 8, 2025
Feb 8, 2025
Learn to create intuitive touch gestures in prototypes, enhancing user experience with swipes, taps, and advanced interactions.

Touch gestures like swipes, taps, and drags are essential for creating smooth, intuitive mobile app prototypes in Figma. This guide walks you through setting up these interactions, using tools like Tap triggers, On Drag, and Smart Animate to design engaging user experiences. You’ll also learn how to organize frames, create reusable components, and test gestures effectively.
Key Takeaways:
Basic Gestures: Set up taps for navigation, swipes for browsing, and drags for item movement.
Advanced Gestures: Use Smart Animate for fluid transitions and mimic pinch-to-zoom interactions.
Frame Setup: Organize gesture states with clear naming conventions and reusable components.
Testing: Preview prototypes on different devices to ensure smooth performance.
For faster prototyping, explore uncoverLAB’s library of pre-built gesture components, which simplify setup and save time. Ready to make your prototypes interactive? Let’s dive in!
Create a Swipe to Navigate Animation in Figma
Project Setup for Touch Gestures
Creating effective touch gestures starts with a well-organized project setup. This structure ensures smooth and intuitive interactions for users.
Frame and Layer Structure
Set up your frame structure by logically organizing gesture states. Create separate frames for each interaction state. For example, if you're designing a photo gallery with swipe gestures, you might need frames for the default view, left-swipe state, and right-swipe state.
When working on layers, keep a clear hierarchy by grouping related elements. For instance, group all elements involved in a swipe interaction together and use descriptive names like "Card_Swipe_Group."
Once the frames and layers are in place, focus on creating reusable components to streamline gesture prototyping.
Component Setup for Gestures
Reusable components make gesture interactions easier to manage. Start by designing the base state, then add variations like pressed, swiped, or dragged. Configure prototype settings to ensure smooth transitions. Breaking down complex gestures into smaller components simplifies updates and allows for better flexibility.
"By turning gesture elements into components, designers can easily replicate these interactions across their prototype. For example, creating a component for a swipeable card allows you to use this component in multiple places without having to recreate the interaction each time" [1][3]
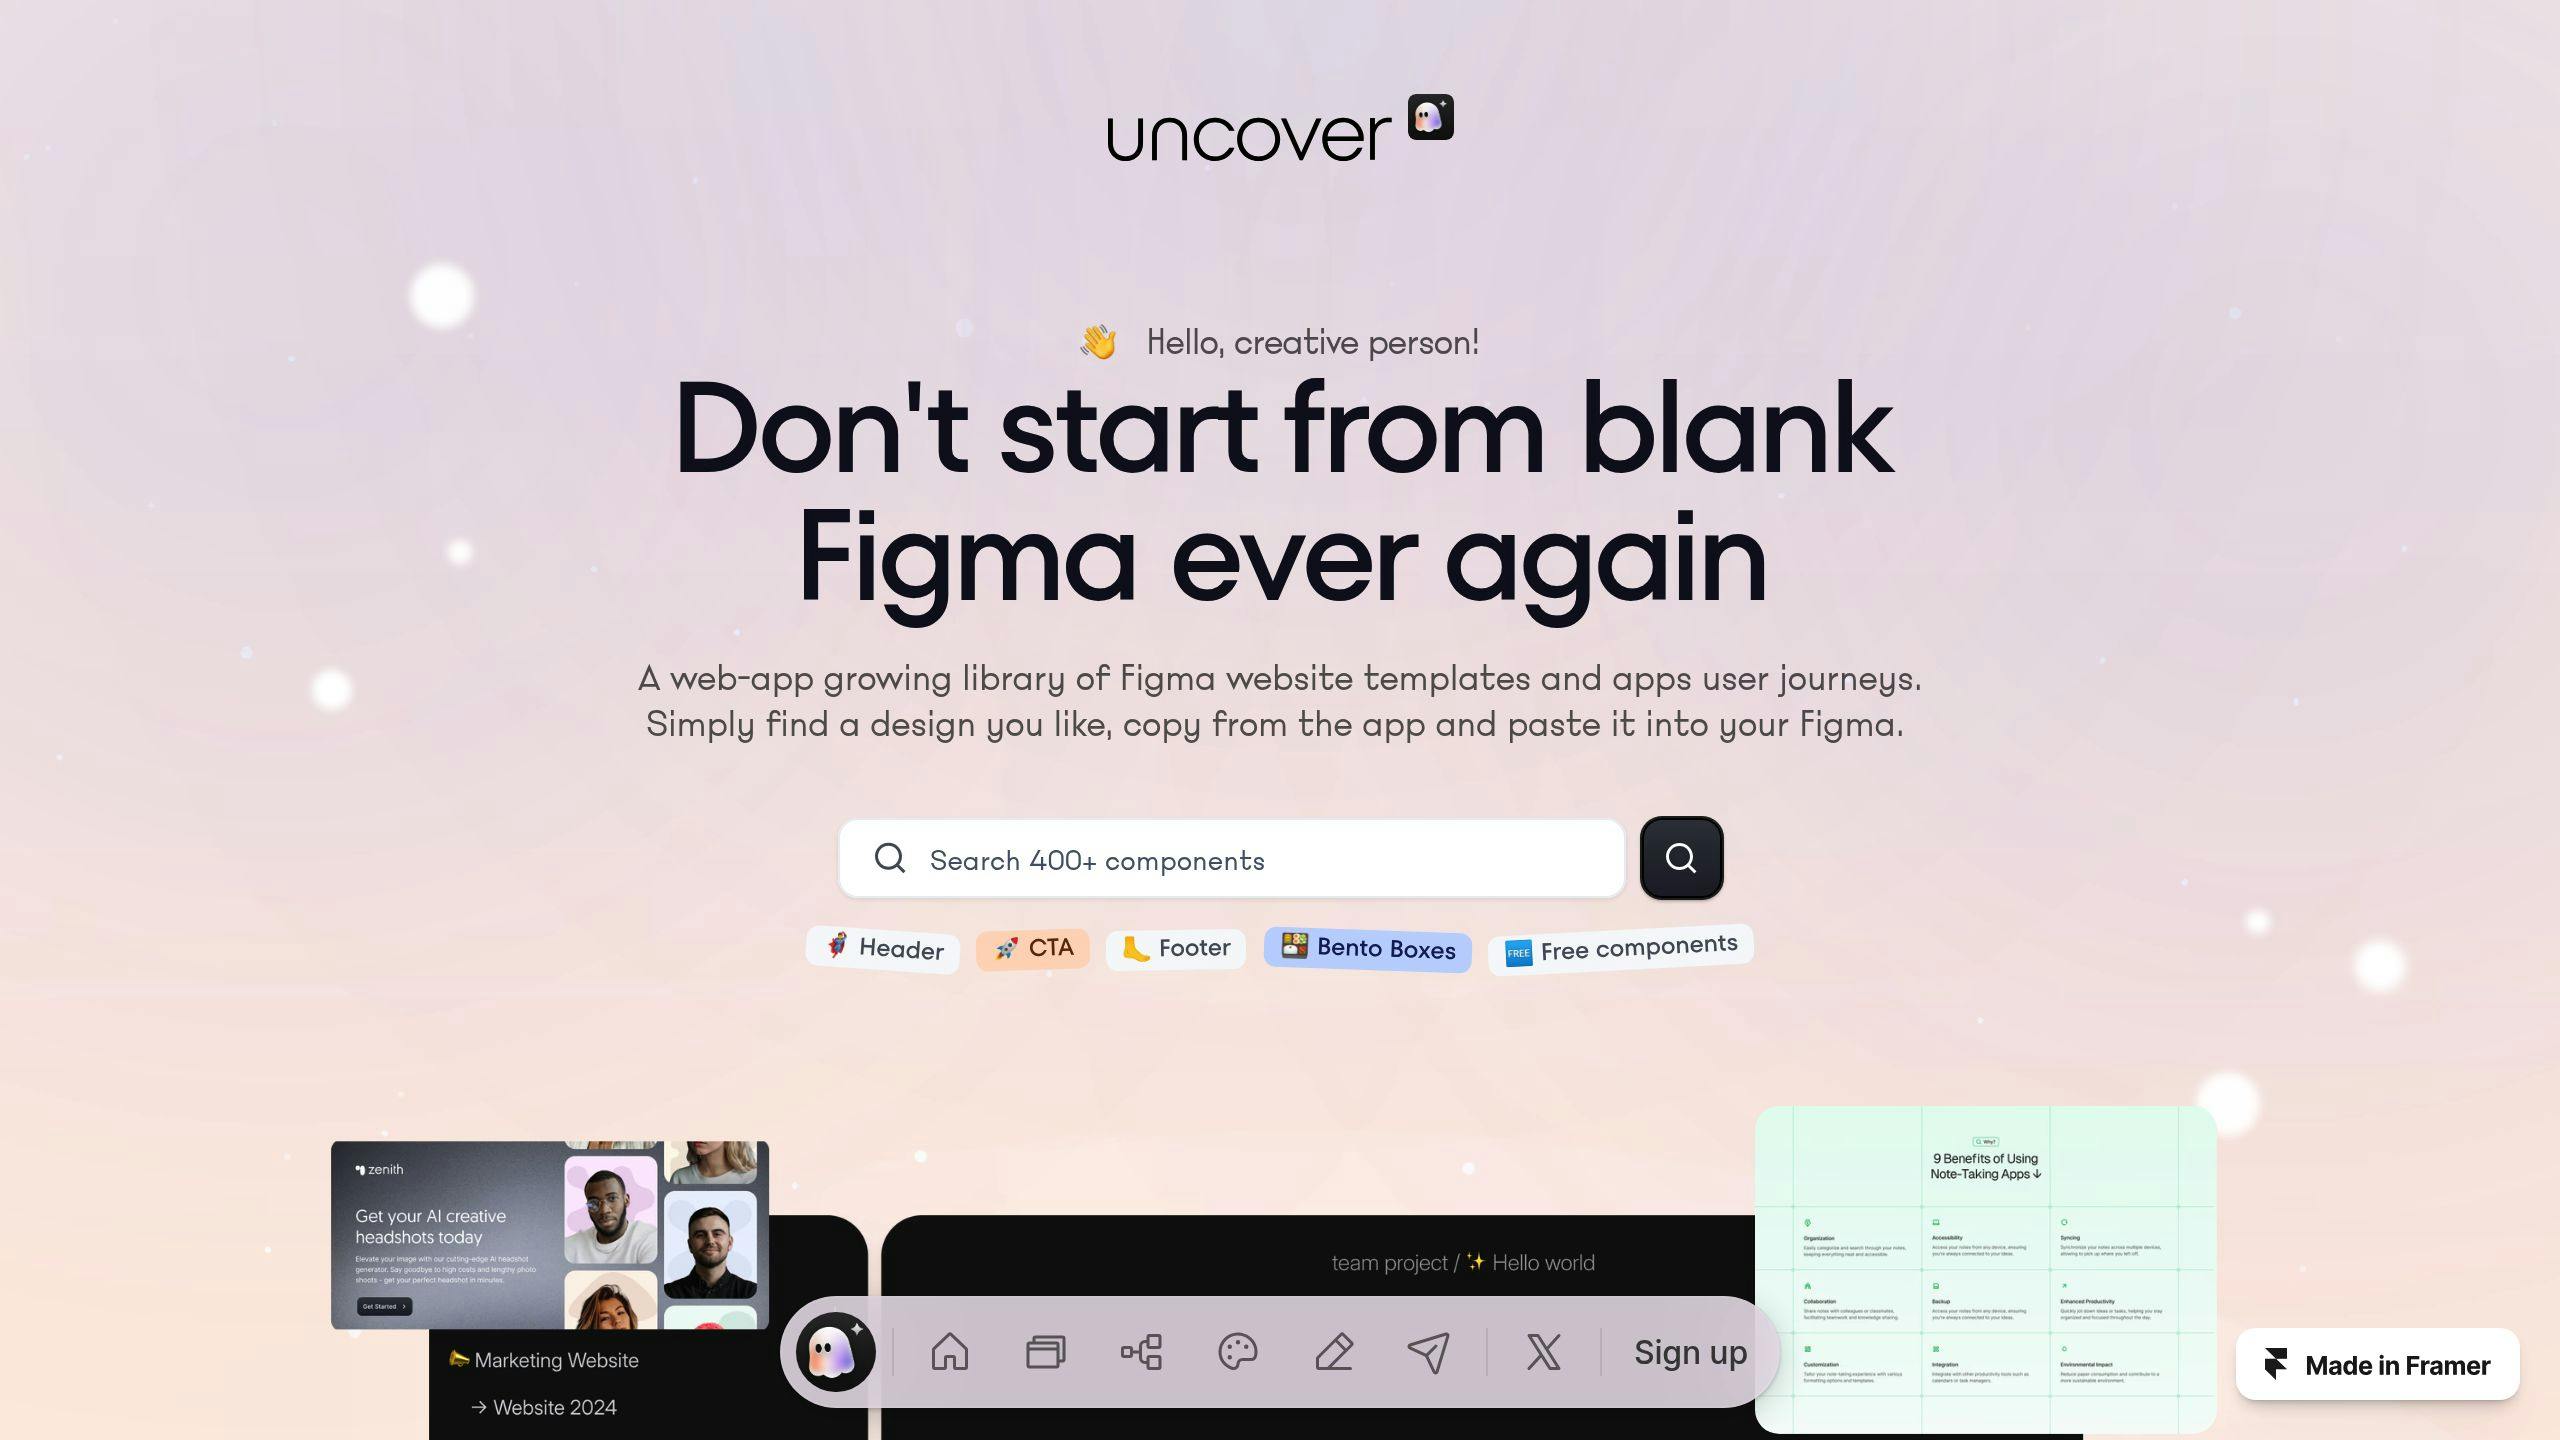
For a quicker setup, you can explore uncoverLAB's template library, which includes pre-built gesture components ready for prototyping.
Basic Touch Gesture Setup
Touch gestures like taps, swipes, and drags are key to creating smooth, user-friendly mobile interactions. Here's how you can set up these gestures in your Figma prototypes.
Tap Interactions
Taps are the simplest and most common touch gesture, often used for navigation or triggering actions. To set up a tap interaction in Figma, go to the Prototype tab and select the layer you want to make interactive. Then, either drag the plus icon to the destination frame or click it in the Interactions section to configure the action.
Swipe Controls
Swiping is a natural way to navigate through content, and Figma’s On Drag trigger makes it easy to set up. To add swipe functionality, select the frame you want to make swipeable. Then, in the Prototype panel, choose the On Drag trigger, set the swipe direction, and adjust the animation timing for a smooth effect.
Drag Functions
Drag gestures let users move elements around, making them perfect for features like drag-and-drop. To implement this:
Design clear, visually distinct draggable elements.
Define obvious drop zones so users know where to place items.
Use On Drag triggers and add visual feedback to guide users during interactions.
Once you're comfortable with these basics, you can experiment with more complex gestures like pinch-to-zoom or Smart Animate for dynamic effects.
Complex Touch Gestures
After setting up simple gestures like taps and swipes, you can add more advanced interactions such as pinch-to-zoom and Smart Animate to make your prototypes more dynamic.
Pinch-to-Zoom Setup
Pinch-to-zoom requires precise frame scaling and careful configuration of interaction triggers. Here’s how you can set it up:
Frame Creation: Start with a frame containing the zoomable content, like an image or map.
Zoom Levels: Design frames for each zoom level (e.g., 100%, 200%, 300%) to simulate scaling.
Trigger Configuration: Use the On Drag trigger to mimic pinch gestures by adjusting horizontal and vertical scaling constraints.
Once you’ve nailed pinch-to-zoom, you can move on to Smart Animate for smoother, more dynamic transitions.
Smart Animate Gestures

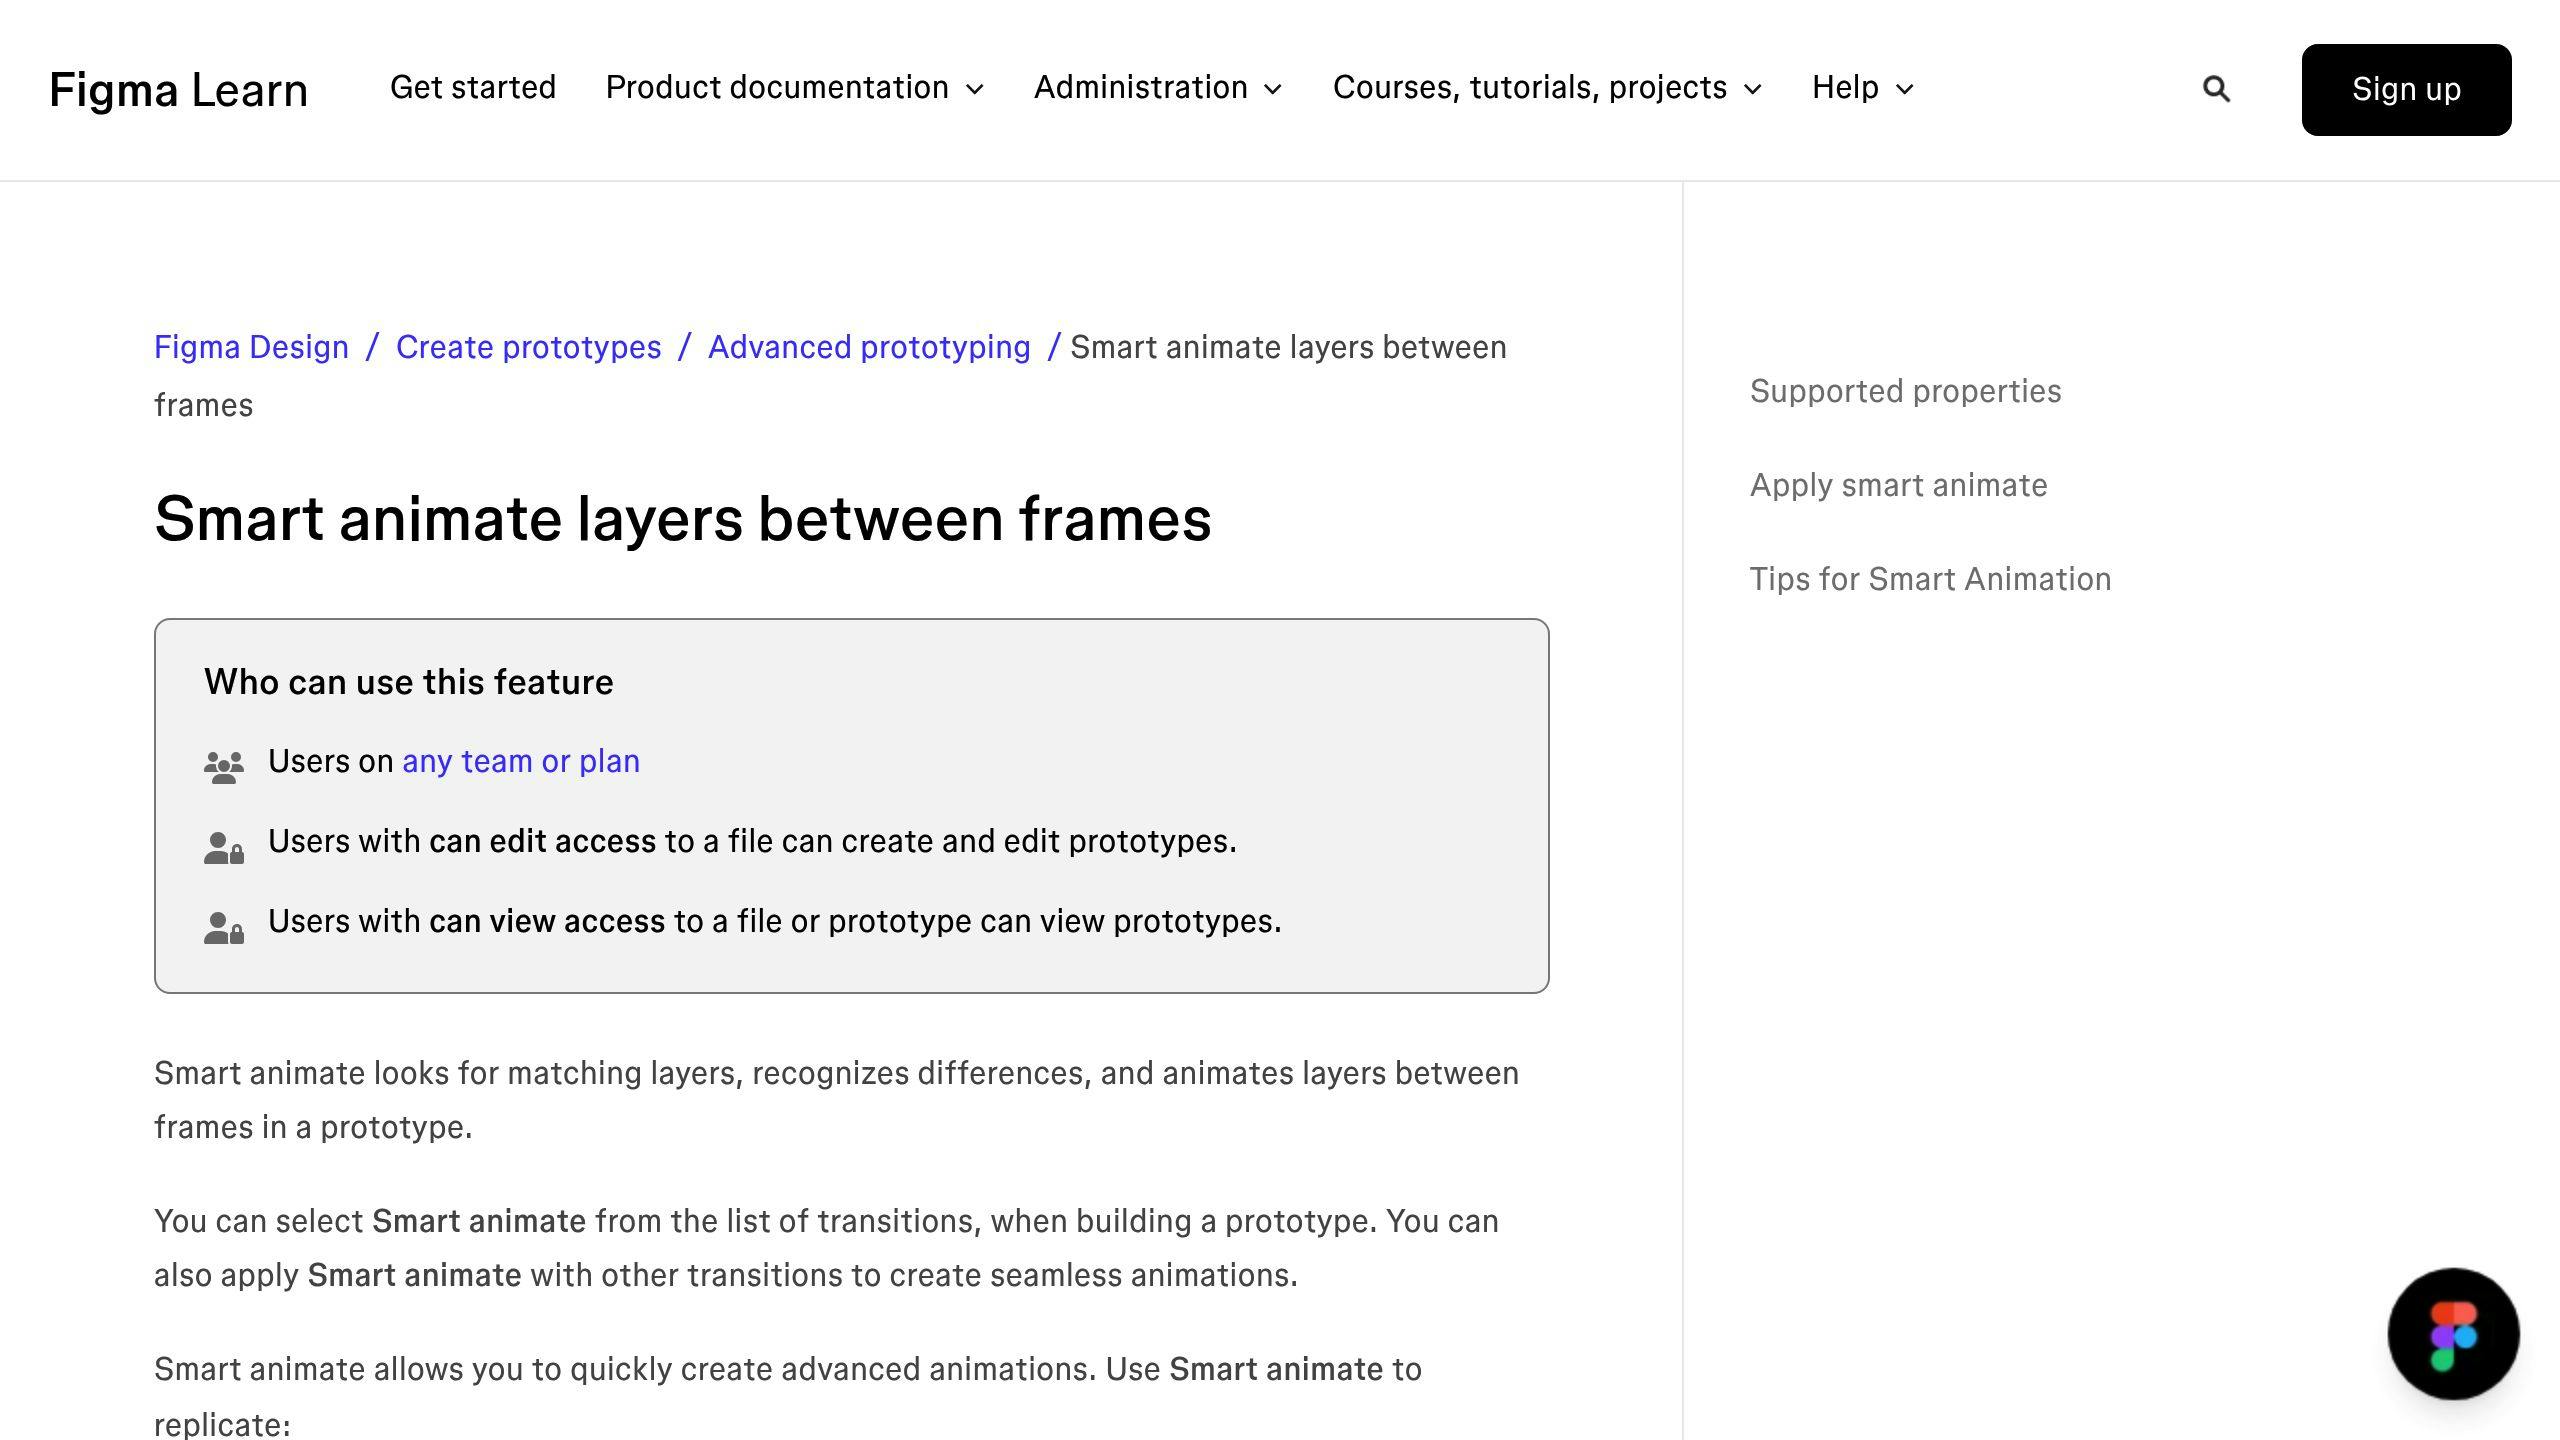
Smart Animate adds fluid transitions that respond dynamically to user input, creating a polished and interactive experience.
To use Smart Animate effectively:
1. Organize Your Frames
Set up separate frames for each interaction state to ensure smooth transitions.
2. Fine-Tune Animation Settings
Adjust Smart Animate properties for the best results:
Use a duration of 300-400ms for smooth transitions.
Set easing to Ease Out for more natural movement.
Ensure named layers match across frames to maintain consistency.
3. Add Feedback
Incorporate visual cues to guide users, such as:
Slightly scaling a button when pressed.
Changing colors or shifting positions to indicate interaction.
Using uncoverLAB's template library can save time. Their pre-made components include optimized animations and layouts, so you can focus on perfecting the interaction details instead of starting from scratch.
"Ensuring that complex touch gestures are intuitive involves designing interactions that mimic natural human movements and providing clear feedback mechanisms. For example, using animations and transitions can help users understand the outcome of their interactions" [3].
Testing Touch Gestures
Thorough testing is key to ensuring touch gestures work well and offer a seamless, intuitive experience across various devices and scenarios.
Prototype Preview
Figma's preview mode makes it easy to test gestures on different devices, orientations, and screen sizes. You can access this feature through the Prototype tab by clicking the Preview button.
After testing the basics, focus on resolving any issues that come up during interaction testing.
Common Issues and Fixes
Unresponsive Gestures
Ensure the correct trigger is selected (e.g., tap, swipe, drag).
Define hotspot areas accurately.
Double-check connections to the destination frame.
Laggy Animations
Simplify animations to reduce complexity.
Adjust transition timing for smoother performance.
Confirm proper frame connections.
Gesture Timing Adjustments
You can fine-tune gesture timing in the Interaction details panel using easing and spring settings. Here's a quick guide:
Swipes: 200-300ms
Taps: 50-100ms
Complex gestures: 300-400ms
Aim for a balance between acceleration and deceleration to meet user expectations while keeping transitions smooth. If you're looking for pre-configured timing settings and components, uncoverLAB offers templates that can simplify and speed up your workflow.
"Ensuring that touch gestures are accessible and usable for users with disabilities requires clear and consistent feedback mechanisms, providing alternative interaction methods, and testing your prototype with assistive technologies" [3].
uncoverLAB Resources

uncoverLAB Template Library
The uncoverLAB template library is divided into clear categories to make it easier to find what you need:
Each component includes ready-made animation settings and interaction states, saving you from building everything from scratch. Plus, the library is updated regularly to stay in sync with Figma's latest prototyping tools and design practices.
Once you've browsed the library, here's how you can integrate these components seamlessly into your project.
Working with uncoverLAB
To make the most of uncoverLAB's resources, choose components that fit your project and tweak them to match your design while keeping their functionality intact.
Component Integration
Copy the touch gesture component you need from the uncoverLAB library.
Paste it into your Figma project without altering its original structure.
Adjust colors, fonts, and spacing to align with your design system.
Interaction Setup
Use the component's pre-configured interaction settings.
Link frames in Figma using the prototyping panel.
"The integration of third-party resources like uncoverLAB can reduce prototyping time by up to 60%, allowing designers to focus on refining interactions rather than building basic components from scratch" [4].
For projects involving complex interactions, uncoverLAB's templates can address gaps in Figma's native touch gesture support. For example, while Figma doesn't natively handle pinch-to-zoom, uncoverLAB provides alternative methods using combinations of simpler interactions to mimic more advanced gestures.
Before diving in, check uncoverLAB's documentation to familiarize yourself with the component structures and customization options.
Summary
Main Points
Creating touch gestures in Figma involves focusing on the structure of frames, choosing the right triggers, and fine-tuning animation timing. Gestures like swipes, taps, and drags depend on clear triggers and fluid animations to feel natural. To make interactions seamless, it's important to use proper animation settings and Smart Animate transitions between layers that match [1].
Once you've mastered these basics, you can experiment with more complex interactions to elevate your prototypes.
Further Development
After getting the basics down, you can add depth to your prototypes with advanced techniques. Combining different gesture types can create more engaging interactions, while spring animations and carefully adjusted easing curves help make movements feel more lifelike. If you're working with pre-built components, whether from uncoverLAB or other sources, understanding their structure before making changes ensures the gestures work smoothly while adapting the design.
"The success of touch gesture implementation relies heavily on consistent behavior and smooth animations. Designers should prioritize testing their prototypes across different devices to ensure reliable performance" [1].
FAQs
What is touch up in Figma Prototype?
Touch up, also known as mouse up, activates when you release a touch or mouse click. This is perfect for actions like expanding an image after a tap. For instance, in a photo gallery design, you can use the touch up trigger to ensure images expand only after the user completes their tap, creating a smoother interaction [1].
What is touch up and touch down in Figma?
Touch down and touch up are two different triggers in Figma prototypes:
Touch Down: Activates as soon as the user touches the hotspot. This works well for instant feedback, like highlighting a button or expanding a menu.
Touch Up: Triggers when the user lifts their finger or mouse from the hotspot. It’s often used to confirm actions or finalize interactions.
Using both together can improve the user experience. For example, in a mobile menu design, touch down can visually show the button being pressed, while touch up can trigger navigation to a new screen [2].
How do you add interactions in Figma?
Here’s how to add interactions in Figma:
Select the layer or object you want to make interactive.
Open the Prototype panel on the right sidebar.
Click the plus icon in the Interactions section, or drag it to the destination frame [1].
You can adjust animation settings like easing, duration, and type in the Prototype panel to make transitions feel more natural and seamless.
These tools give you the flexibility to integrate touch gestures effectively into your Figma prototypes.